Recently a user reached out to us and asked, “Service Host Local System is hogging my system resources—how do I resolve it?”
Many other people, too, have had this very problem at different points in time, and therefore we’ve decided to dedicate a full blog post to this windows issue.
If you are also facing this very issue, we are sure this post will prove helpful to you.
Let’s start then….
First thing first, Service Host (svchost.exe) is a genuine Windows process. It is not malware. Therefore, don’t ever think of removing it. If you remove it, your system will mightn’t work properly.
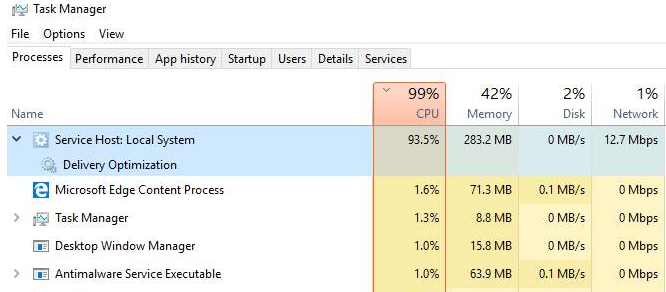
Service Host:Local System is a collection of System Processes that operates automatically in Windows. This includes, among others, Windows Auto Update. At times, you might find it hogging CPU resources or taking up huge memory space, disk space, & RAM.
Thankfully, you can resolve this issue fairly quickly and on your own. We’ve listed 4 solutions for this problem. All of them can be easily performed by an average user.
You mightn’t need to try each of these 4 solutions. Just start with the first in the list and move on to the next one and so on, until the issue is resolved. (Let us know which of these solutions worked for you by leaving a comment.)
Solution 1 – Disable Superfetch
Disabling Superfetch, which helps reduce boot time, might help. While a useful thing, it has had it shares of problems. In Windows 8, Superfetch has been known to cause disk performance problems. These same issues have been reported by many Windows 10 users also.
Here are the steps you need to perform to disable Superfetch.
- Press Windows + X
- Select Command Prompt (Admin)

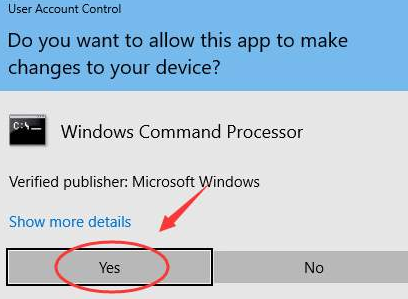
- In the User Account Control, click Yes
- Type this command

- Press Enter
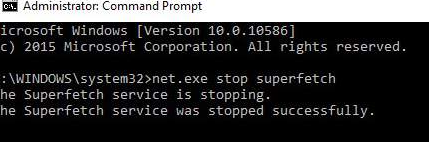
- Check after a few minutes to see if things have improved.
In case you wish, you can run disk check. To do so, simply type the command listed below and then press Enter.

Using the keyboard, type Y. This will confirm disk check.
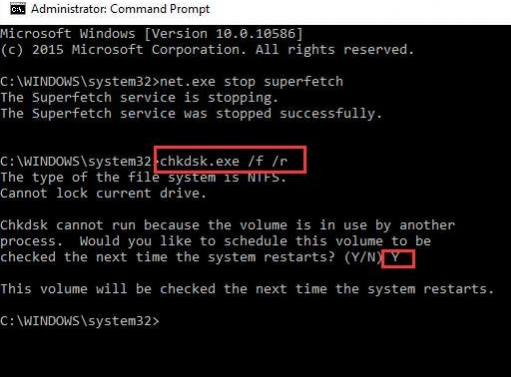
Now check if the issue is solved.
Solution 2 – Run Troubleshooter to Fix Issues with Windows Update
Quite often the cause of this problem is Windows Update. Obviously, you can’t disable Windows Update because then you will not receive latest releases from Microsoft.
A much better option is to run troubleshooter to check if Windows Update is causing the Service Host Local System high disk usage issue.
Here are the steps to follow.
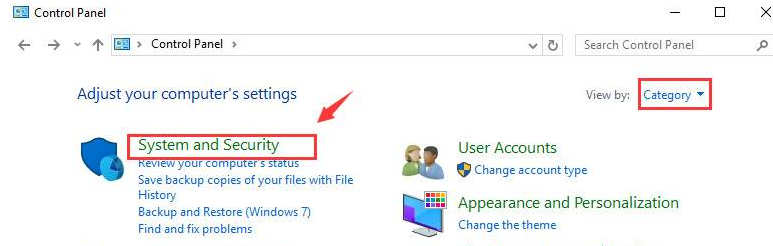
- Open Control Panel
- Select Category in View By drop-down menu
- Select System and Security
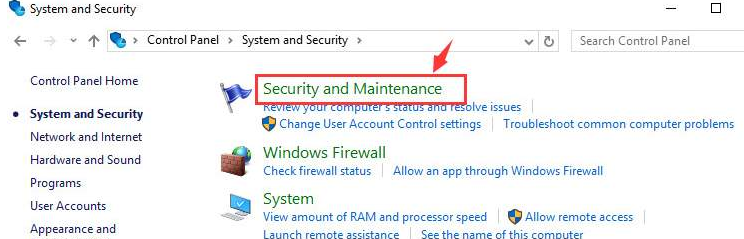
- Select Security and Maintenance
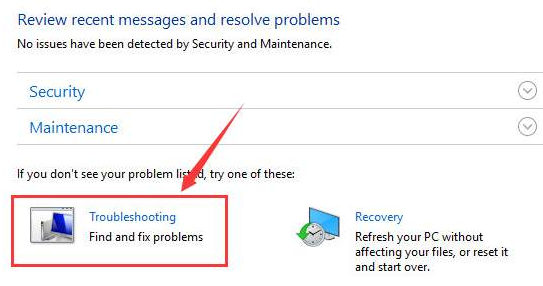
- Select Troubleshooting
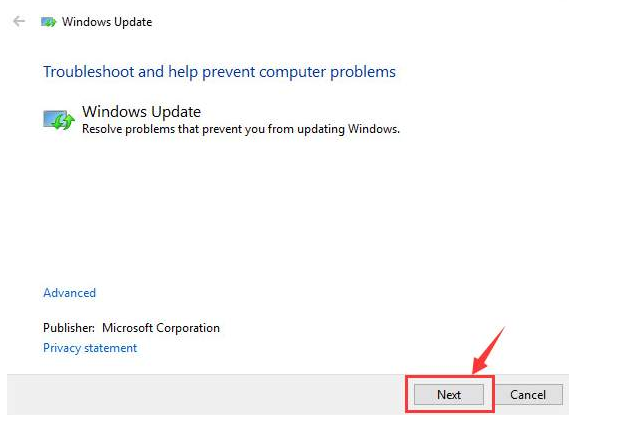
- Select the Fix problems with Windows Update option
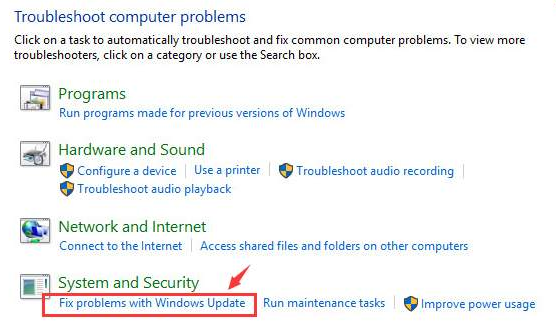
- Select Next
- Select the Try troubleshooting as an administrator option
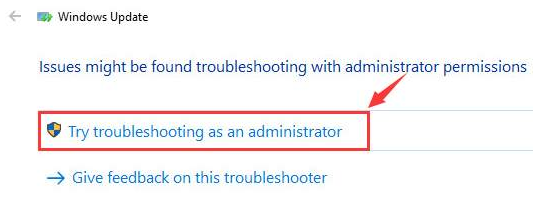
- Reboot your PC and check if the issue is fixed
Solution 3 – Update Device Drivers
Service Host Local System High Disk Usage can occur because of outdated or corrupt device drivers. Updating outdated drivers will fix the issue if error is occurring because of this. You can update all the device drivers automatically.
Automatic driver update tools offer many benefits, the most important ones being:
- You can update device drivers automatically
- The software scans and updates all outdated or missing drivers at one go
- The tool picks the right drivers for your device and operating system, so you won’t have to worry about installing an incorrect driver by mistake
- Automatic driver updates are 100% safe
Driver Updater is one of the best driver update tools out there. Outbyte Driver Updater will give you access to a database of over 1 million drivers. It will regularly scan your PC, suggesting new driver versions to install. Driver Updater contains drivers for a variety of Windows devices. With just one click, you can update drivers in your system.
Step 1
Click here to Install and launch the app
Step 2
Scan all devices
Step 3
Install or update drivers automatically
Solution 4 – Disable Some Specific Services
It is possible to find the service that is using too much disk space or hogging CPU. Next, you can disable it.
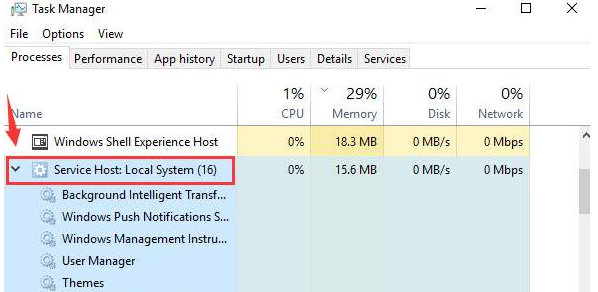
- Right-click on your taskbar and select Task Manager
- Expand Service Host: Local System. You’ll find many items under it.
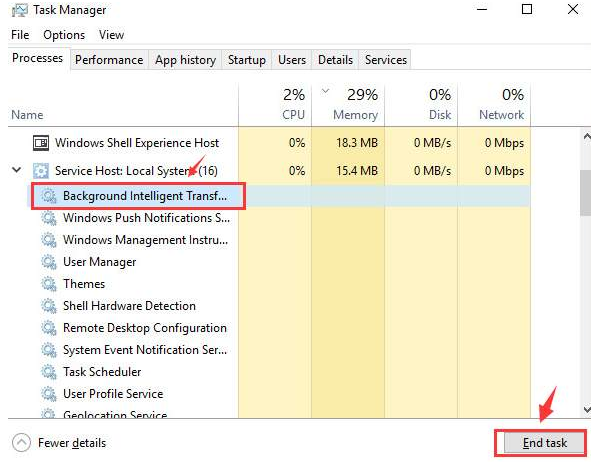
- Select the first item and then click End Task and note if there’s a sharp reduction in CPU Usage. Continue to perform this step until you find the culprit.
Once you’ve found the service that’s causing your computer to become slow, disable it. To do this, perform these steps:
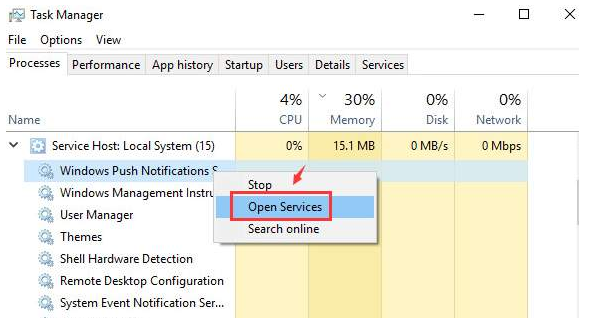
- Right-click the problematic item and select Open Services (In this example, we have identified Windows Push Notification Service as the culprit).
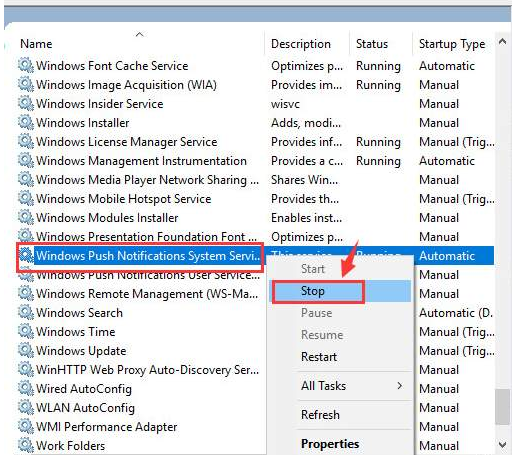
- Locate the selected service in the list of services that appear on your screen now, right-click it and select Stop.
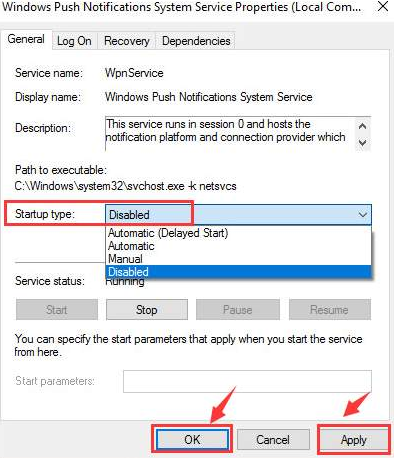
If the CPU or disk usage or memory usage is now normal or close to normal, it means you’ve rightly located the problematic service. You could try disabling the problematic service.
To do so, perform these steps:
- Double-click the service
- Under the General tab, select Disabled in the Startup type drop-down menu
- Click OK and then click Apply
Leave a Reply