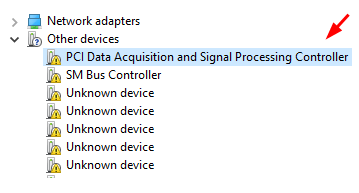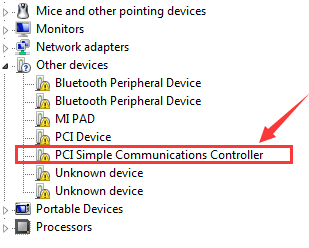
If PCI Data Acquisition and Signal Processing Controller is present under Other Devices and has a yellow exclamation mark beside it, it shows there is a problem with the network driver.
This is one problem that many users have reported recently. If you are facing this problem too, this post is just for you.
So what does this PCI error mean?
It usually signifies there’s something wrong with the network connection. But don’t worry as it doesn’t take much to solve the issue.
The first thing you should do when you come across a yellow exclamation mark in the device manager is to update device drivers. We recommend you to install drivers only from genuine resources. One such resource is the manufacturer support website for your PC or laptop .
- Browse to the support site and then search for drivers for your laptop by searching in the software or drivers section
- You are likely to see a number of drivers; pay attention to chipset driver and network card driver
- Select the appropriate operating system
- Finally, click the Download button
- Once the download process is complete, install drivers one by one
- Reboot Windows for the changes to take effect
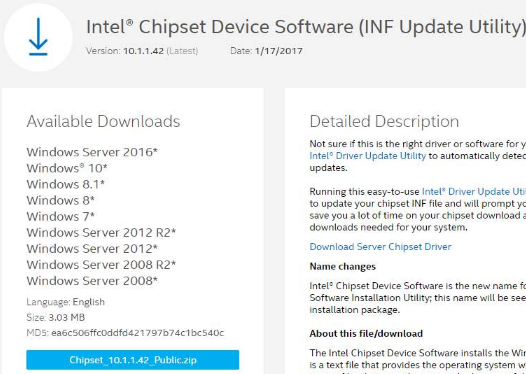
Sometimes, the chipset driver is in form of .inf file. This may pose some problems for certain users, but don’t worry we will show exactly how to install such drivers. The driver software we’re using for demonstration is Intel Chipset Device Software.
Note: It is very much possible that your chipset driver may have a completely different name. That’s ok. PC manufacturers often customize intel chipset in order to have it meet the specifications of their computers. In case you don’t wish to give up any customized feature, we recommend you download chipset from your computer manufacturer.
- Download the relevant chipset driver for your computer and save it in a suitable location

- Press Win + R keys simultaneously to launch the run dialog box
- Type devmgmt.msc and then press Enter
- In the Device Manager window, locate and double-click PCI data Acquisition and Signal Processing Controller. You will find it under Other devices category

- Click the Driver tab
- Click Update Driver
- Select the second option in the list – Browse my computer for driver software
- Navigate to the location where you have stored the driver file and then click Next
- Wait for the chipset driver to get installed
- Restart PC (if required)
In case you don’t want to go through the whole process described above, you could consider getting a reliable driver update tool to do this for you.
Automatic driver update tools offer many benefits, the most important ones being:
- You can update device drivers automatically
- The software scans and updates all outdated or missing drivers at one go
- The tool picks the right drivers for your device and operating system, so you won’t have to worry about installing an incorrect driver by mistake
- Automatic driver updates are 100% safe
Driver Updater is one of the best driver update tools out there. Outbyte Driver Updater will give you access to a database of over 1 million drivers. It will regularly scan your PC, suggesting new driver versions to install. Driver Updater contains drivers for a variety of Windows devices. With just one click, you can update drivers in your system.
Step 1
Click here to Install and launch the app
Step 2
Scan all devices
Step 3
Install or update drivers automatically

Leave a Reply