More often than not, new graphics driver means improved stability and better performance. However, sometimes issues may occur after a recent update, in which case rolling back your NVIDIA drivers could be a smart move. This simple solution could restore your PC to its working condition.
So, when does it makes sense to roll back your NVIDIA drivers? More importantly, how to roll back the drivers?
Following a recent update if you are facings issues with the GPU, such as intermittent failures when you try to run certain games, Blue Screens when you launch games, or much slower Frames Rate per Second, then it is generally a good idea to roll back the drivers. Doing so will restore your PC to its earlier working condition.
As to how to roll back the NVIDIA drivers, here’s everything you need to know:
Using Windows Device Manager to Roll Back NVIDIA Driver
An extension of the Microsoft Management Console, the Windows Device Manager allows users to view and control all the hardware devices attached to their computer. If you manage the drivers with the help of NVIDIA’s GeForce Experience, you will likely have better results when you roll the drivers back via Device Manager.
Here are the steps you need to perform:
- In the Search bar located in the taskbar, type Device Manager
- Among the results appearing on your screen, choose the top result

- Once the Device Manager window opens, scroll down until you see the Display Adapters entry. Click the arrow beside it to expand the entry
- All the currently installed GPUs will be listed. Highlight your NVIDIA device, and right-click it
- Click Properties
- Under the General tab of the Device Properties window, you can find information such as the Device Status, driver details, and additional information about its settings
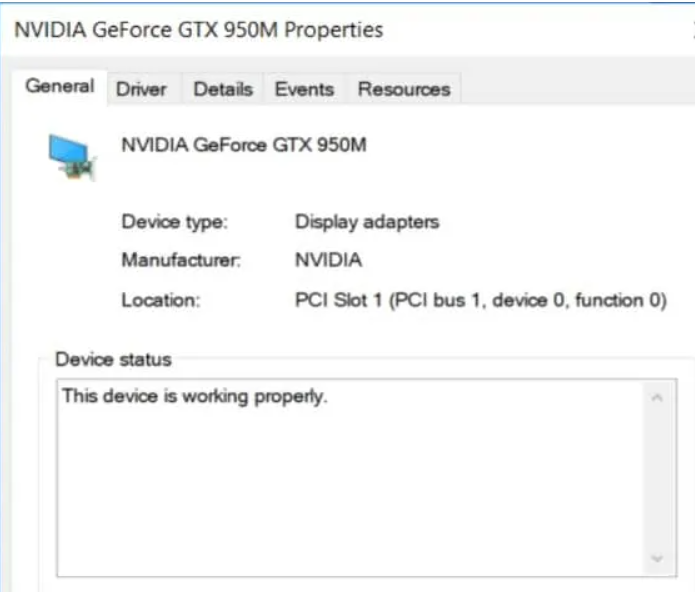
- Click the Drivers tab to roll back the driver
- Click the Drivers tab will give you access to various options, including Roll Back Driver. Clicking it allows you to revert to the previously installed driver
- Click the Roll Back Driver Button
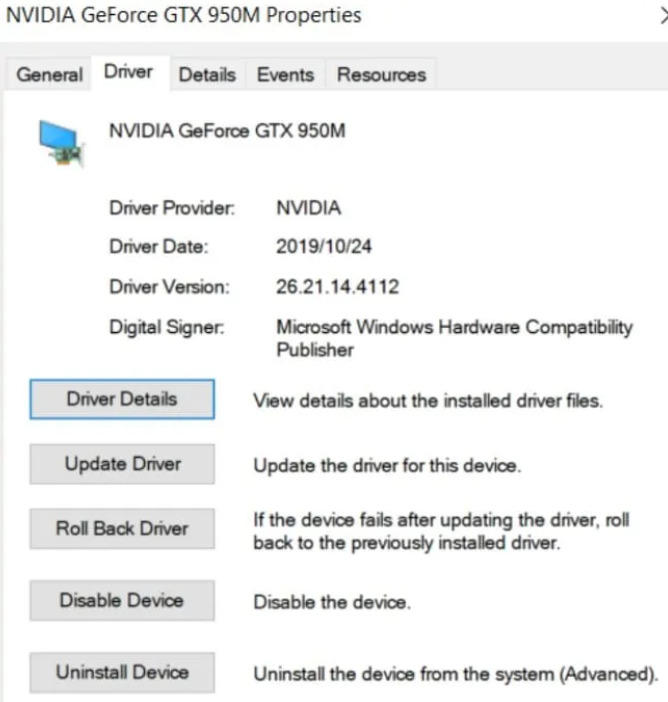
- In the next window, you’ll be asked why you are rolling back. Your answer could help ensure better service to other users in the future. From the list that appears on your screen, select the most relevant option
- Click the Yes button to roll back the NVIDIA driver
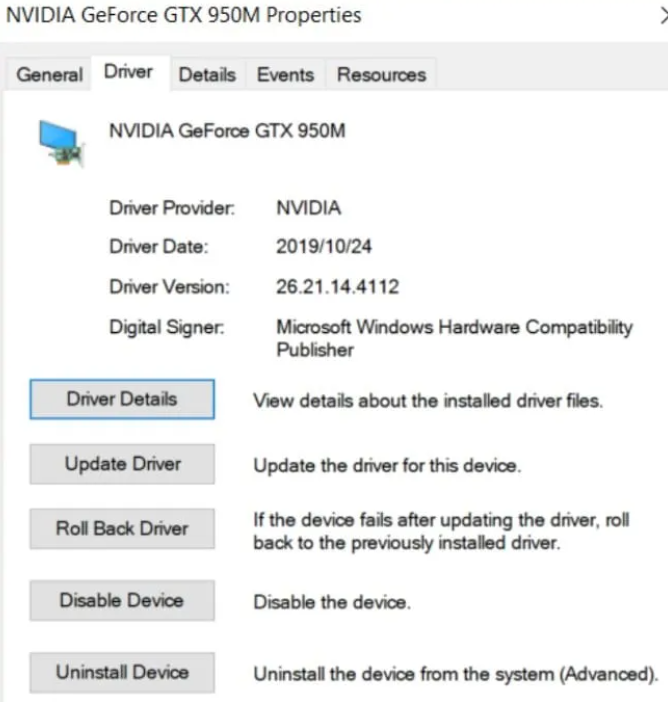
- Now Windows is going to remove the present driver and install the previous one. While this process is running, your access to Driver Properties window will be restricted. Once Windows has completed the roll-back process, you will see the previous version of the driver will be displayed in the Driver tab
Important: The option to roll back will no longer be available once you have restored the previous version.
What to do if there’s no option to roll back?
If there’s no roll back option, you probably performed a clean install of the latest drivers. In this case, you will have to uninstall the new version and download the older version manually from NVIDIA website.
To uninstall the existing NVIDIA driver, perform the following steps:
- In the Taskbar Search box, type Control Panel
- Next click Programs and Features
- Select NVIDIA Graphics Driver and click Uninstall
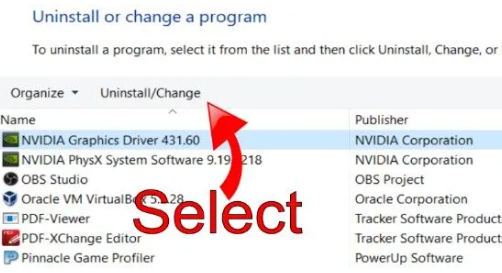
- This will launch NVIDIA Uninstaller from where you can uninstall the driver
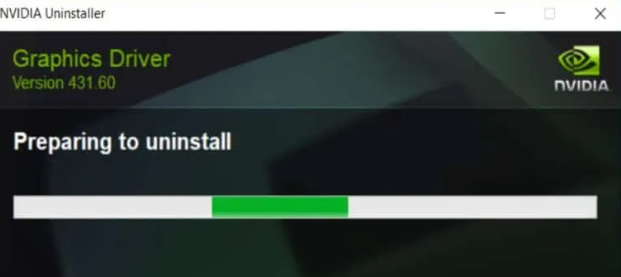
- The program will ask you to confirm that you wish to uninstall the NVIDIA driver. Click Uninstall
- Wait until the uninstallation process is complete
- Restart Windows once it is complete
- Now open your web browser and go to NVIDIA’s website
- Locate older drivers for your NVIDIA device model
- Select the appropriate driver and download it
- Once the download is complete, double-click the file to install the driver
- This will open the NVIDIA installer. Select NVIDIA Graphics Driver option and click the Agree and Continue button
- Wait until the installation process is complete. Then click the Close button
Manage Your NVIDIA Drivers (And Other Drivers) With a Driver Update Tool
Automatic driver update tools offer many benefits, the most important ones being:
- You can update device drivers automatically
- The software scans and updates all outdated or missing drivers at one go
- The tool picks the right drivers for your device and operating system, so you won’t have to worry about installing an incorrect driver by mistake
- Automatic driver updates are 100% safe
Driver Updater is one of the best driver update tools out there. Outbyte Driver Updater will give you access to a database of over 1 million drivers. It will regularly scan your PC, suggesting new driver versions to install. Driver Updater contains drivers for a variety of Windows devices. With just one click, you can update drivers in your system.
Step 1
Click here to Install and launch the app
Step 2
Scan all devices
Step 3
Install or update drivers automatically

Leave a Reply