The AMD RX 580 graphics card packs a punch but does not come with a prohibitive price tag. It comes with many useful features, including, but not limited to, VR technology support and faster frame rates (1440p resolution).
Thanks to HDMI output capacity, the RX 580 graphics card is a great option for users looking for an awesome gaming experience. But like any other hardware, the RX 580 may also behave erratically every now and then. One of the most common (although easily resolvable) problems with it is dropping signal to the monitor.
If you are experiencing this issue, this post is all that you need. We will walk you through different solutions that can help you fix the issue once and for all.
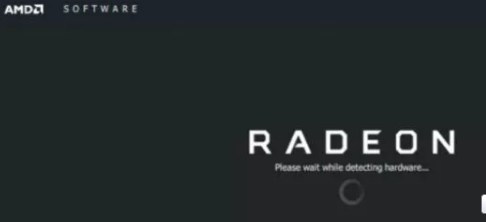
The RX580 graphics card, like other GPUs from Radeon, uses the Radeon Adernalin application for managing drivers. The software is designed to automatically detect the hardware device being used and then select the right driver for your version of Windows. It also installs or updates the driver whenever necessary.
But in case you are experience signal issues with RX 580, it is necessary to run some physical checks first. Only after you have done that, should you update the software.
Steps to perform physical checks
- In case you have a HDMI- or USB-powered monitor, it is possible you might experience some issues with the RX 580 output signal.
- Using the monitor with a dedicated power supply may give better results. The problem occurs because the monitor needs 500w input power for maintaining a seamless graphic interface.
- In case using a dedicated power supply doesn’t help, there is a good chance the problem lies with your HDMI cable. Use another HDMI cable and check if the issue is fixed. While the HDMI cable is reliable, it may deteriorate with passage of time. In case your cable is old and worn out, using a new HDMI cable may fix the issue.
Running Software Checks
In case using a dedicated or new power supply does not resolve the “signal dropping intermittently” issue, you will have to troubleshoot software settings and device settings.
How to update Radeon Software
In case you installed Radeon software a long time ago, it may be a good idea to make sure your version is still up-to-date. Thankfully, the AMD software itself allows you to do so.
- Go to AMD Drivers and Support
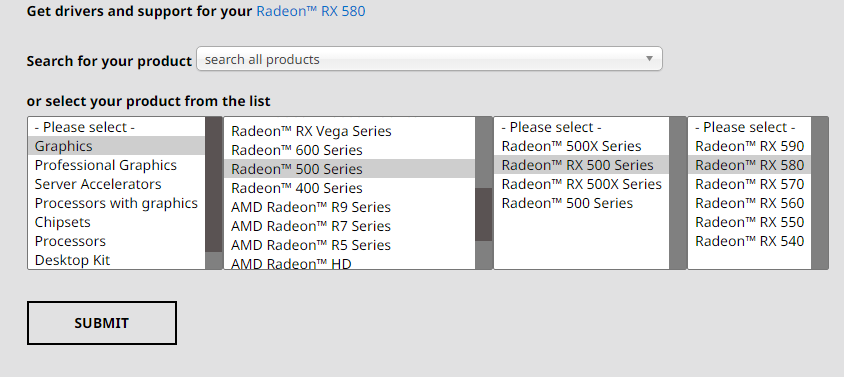
- Select the right product and click the Submit button

- Now click the “+” sign before the Windows version you are using (e.g. we clicked on Windows 10 64-bit) and then click the Download button

- Once you have downloaded the latest version of Radeon software, locate its installer file. Those using Chrome can simply click the Up arrow shown at bottom of the page and choose “Show in folder” for locating the required file
- Just double-click the file to launch installation
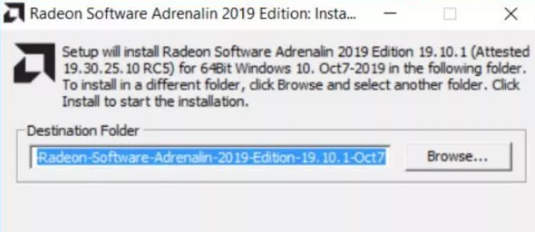
- The default installation folder will be selected by default, but you can change it if you want. Click the Browse button to do so. Next click Install

- Wait until the installer’s contents get unpacked. Progress bar allows you to track progress. Proceed only after this process is completed
- The next window displays the End User License Agreement. You will have to accept it to proceed further. There are two options to choose from. Click “Accept and Custom Install” in case you have previously installed the settings and driver utility. If this is the first time you are installing them, then click “Accept and Express Install”
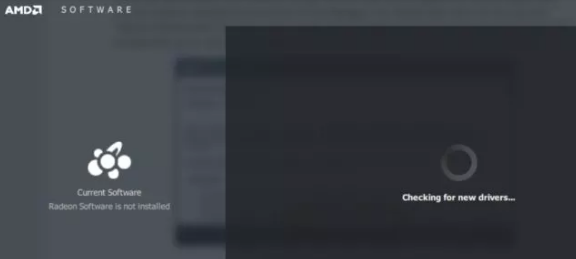
- In case you have not installed the software earlier, it is going to connect with Radeon site to check you need updated drivers

- But in case you have earlier installed this software, it will run a search and find out the version of software you are presently using

- Once Radeon Adrenalin has finished scanning the computer, it will show the version in use and whether you need an upgrade
- If you are using an older version, uninstall it before installing the new version.
- To uninstall the previous version of the software, click “Uninstall Current Version”. You will now see the following three options:
- Express Uninstall: All earlier installed components of Radeon Adrenalin will be automatically removed
- Custom Uninstall: You can select the components that you want to remove
- Search for Legacy Drivers: You will be taken to the support site from where you can search older drivers in case you need them
- While the second and third options are useful in certain situations, only advanced users should use them. For other users, the Express Uninstall option is right. It makes sure you have the correct version and the “signal dropping intermittently” issue is not being caused by components installed earlier

- Once previous components are uninstalled, the software will not automatically take you to Install option. Let the uninstaller complete its job and then restart the installer. To do so, double-click the installer file you had downloaded earlier
- After restarting the installer, you can install the newest version by clicking the Install option
- You will be taken to a new page. Click Install again
- Wait until the installation is complete. Eligible users will get a prompt for installing Radeon ReLive. If you want, click the Skip button (far right-hand bottom corner) to skip installing Radeon ReLive
Important: With Radeon ReLive you will be able to not only record but also live stream the gaming sessions. Even though AMD claim the software requires minimal system resources while streaming, you might want to skip installing it in case you are encountering the “signal getting dropped” issue.
- After installation is complete, you are going to get a prompt message to restart Windows or exit the application. Restarting Windows is a better option at this stage. In case you opt to exit the software, do not forget to restart Windows before launching the game with which you originally experienced the issue
Once Windows restart, check whether the issue has resolved. If not, you can give the following troubleshooting steps a try.
Additional steps
- Make sure that the GPU is not being over-clocked. These units eat up more power in the overclocking setting. So that may be the root cause of the issue you are facing. You can tweak the settings using AMD’s Global WattMan utility.
- Click right hand mouse button. This will give you access to Radeon Settings
- Click Gaming in the next screen
- Next, click Global Settings. Now click Global WattMan
- Before you can access WattMan utility, you will need to accept Radeon’s warning. Click the Warning button to do so
- In case you earlier changed the fan or clock speed, you will see the option for reset. Click Reset
- After you have reset fan, clock, and power settings to their default values, try playing the game again
Advanced Driver Update Tool For Managing PC Drivers
Automatic driver update tools offer many benefits, the most important ones being:
- You can update device drivers automatically
- The software scans and updates all outdated or missing drivers at one go
- The tool picks the right drivers for your device and operating system, so you won’t have to worry about installing an incorrect driver by mistake
- Automatic driver updates are 100% safe
Driver Updater is one of the best driver update tools out there. Outbyte Driver Updater will give you access to a database of over 1 million drivers. It will regularly scan your PC, suggesting new driver versions to install. Driver Updater contains drivers for a variety of Windows devices. With just one click, you can update drivers in your system.
Step 1
Click here to Install and launch the app
Step 2
Scan all devices
Step 3
Install or update drivers automatically

Leave a Reply