Many users have complained of their camera not working after upgrading to Windows 10. If you are facing the same issue, try the troubleshooting steps set out below.
“Something went wrong” error
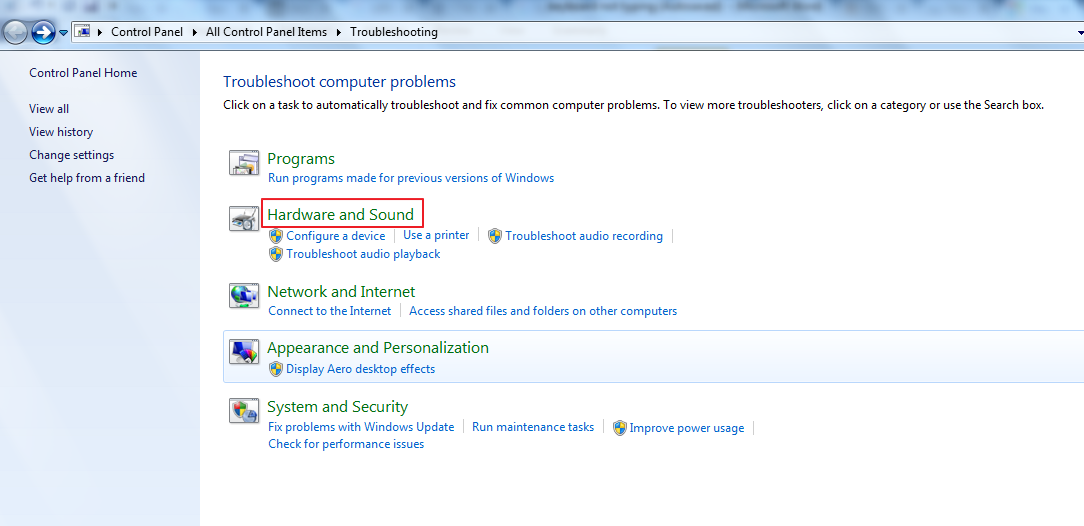
If you are receiving this error, the first thing to do is run the Hardware Troubleshooter by following the steps set out below:

- Go to the Start Menu
- Type troubleshooting in the Search Box
- Select Hardware and Sound option
- Click Hardware and Devices and follow the on-screen instructions
If the above method does not work, there are two ways to resolve the issue. The first method is to roll back the Camera Driver and force Windows to use the previous version of the Driver.
The second method involves uninstalling the Camera Driver and letting Windows install a generic Camera Driver for the device.
Method 1: back to previous Driver version
Before rolling back the Camera Driver, you need to check the version of the Camera Driver you are using. Follow the steps below to help find this information.
- Go to the Start Menu
- Type Device Manager in the Search Box
- Click Device Manager from the list of search results
- In the Device Manager window, go to Imaging Devices
- Select the camera in the list. Right-click on the camera entry and select Properties
- Go to the General tab and note down the Camera Driver manufacturer and model. You can use this option to search for updated camera drivers if the rollback driver option is not available
- Go to the Driver tab
- Select Rollback driver option
- Click Yes when asked for confirmation
- Click OK
- Close Device Manager
- Reboot the system
If the above method does not resolve your camera issue, you need to uninstall the Camera Drivers by following the steps below:
Method 2: uninstall and reinstall Camera Drivers
- Open Device Manager
- Go to Imaging Devices
- Select your camera in the list and right-click on it
- Select Properties
- Go to Driver tab
- Click Uninstall
- Click OK
- Windows will ask for confirmation to uninstall the device. In the Confirm Device Uninstall pop-up, check the box “Delete the driver software for this device”
- Click OK
- After Windows completes the uninstall of your Camera Drivers, go to the Action Menu
- Click Scan for hardware changes
- Windows will install a generic version of the Camera Driver
- Close Device Manager
If none of the above methods work, you need to download the latest Camera Drivers from the manufacturer’s website or use a reliable driver update tool. Driver Update Tool to do the Driver Updates for you.
Method 3: Download updated Drivers
- Open the Device Manager
- Expand the Imaging Device list
- Right-click on the camera you want to fix
- Select Properties
- Select Update Driver Software
- Select “Browse my computer for driver software”
- Select “Let me pick from a list of device drivers on my computer”
- Select the camera from the device list. If it is camera connected through USB – Select “USB Video Device”
- Click Next and follow the on-screen instructions to install the Camera Drivers
You can also automatically download the latest camera or other Drivers using a reliable driver update tool.

gerald goodwin says
oh and my system is a Acer Aspire ES1-711 this is gerald goodwin again