DriverDownloader is now installed on your computer and ready to use.
To start using DriverDownloader, locate the icon (usually on your Desktop) and double-click the .exe file to launch the program.
If you are having problems locating the program then simply search for ‘DriverDownloader.exe‘, then double-click on the file to launch the software.
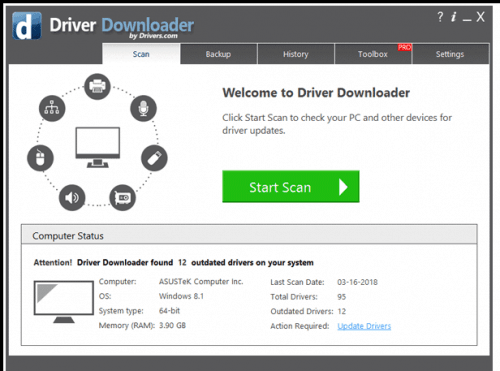
From the welcome screen you can choose to run a Driver Scan, this will give you a full report on the status of all the Drivers on your computer.
We would advise that you use the ‘Backup’ tab to create a backup before updating any Drivers. This will allow you to roll-back should you wish to do so.

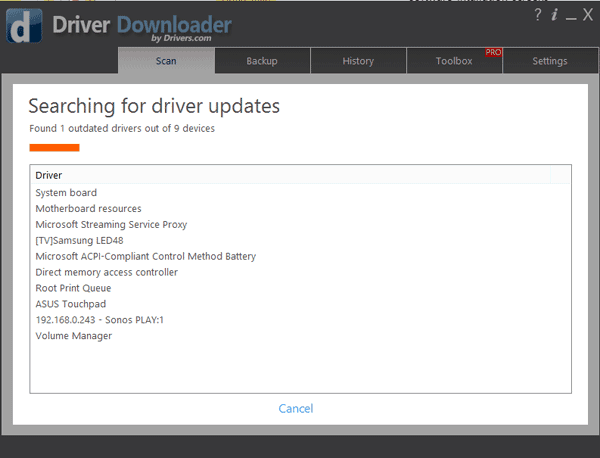
Once you complete a Drivers scan, the driver update tool will automatically start searching for Driver updates to fix your Driver issues.
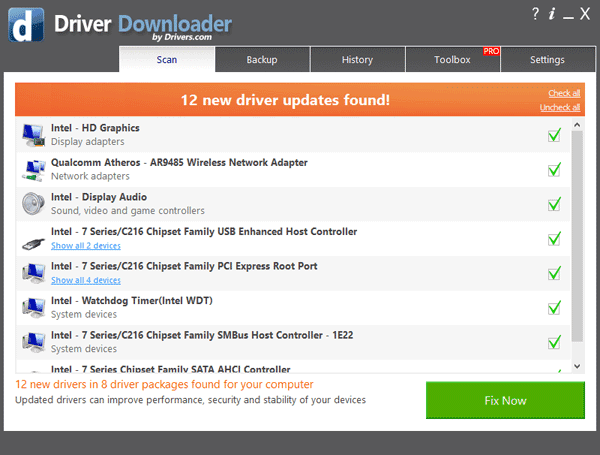
Driver updates are released for devices on a relatively regular basis. You don’t always have to have the most recent Drivers installed. If you are not experiencing any issues with a device, such as your Printer, then you may wish to uncheck the box next to the device in the Drivers scan report, opting to just update the Drivers for the devices you are having problems with.
The screen below is a sample view of the Drivers scan. In this case all of the devices are checked. When the ‘Fix now’ button is clicked, all of the Drivers for these devices will be updated. If you wish to leave, for example, your Intel Driver as is. Then uncheck the box next to the Intel Driver. This will tell the software to skip this update for the moment.
If you have any problems with our software, please use the help function from within the program to view FAQs or contact us directly.


